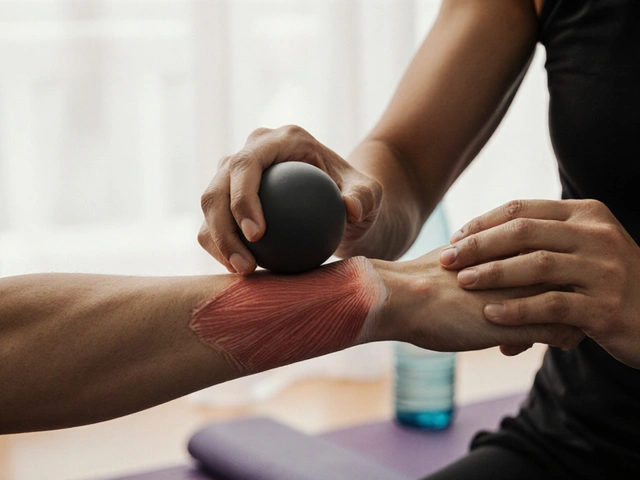
Gua Sha technique: simple steps for safe, effective results
Gua Sha uses a flat tool to scrape the skin and improve circulation where you feel tightness or pain. You can use it on the neck, shoulders, back or face. Done properly it feels relieving, not violent. Below are practical, step-by-step tips so you can try Gua Sha at home or know what to expect from a therapist.
How to do Gua Sha
Start with clean skin and a slick lubricant like oil or serum so the tool glides. Hold the tool at a shallow angle — about 15 to 30 degrees — and stroke in one direction with medium pressure. Work from the center out: for the neck, move from the spine toward the side; for shoulders, push toward the arms; for the back, follow muscle lines upward or outward. Keep strokes short and repeat each area 5 to 10 times, watching how the skin responds. If you see redness or small petechiae (tiny red spots), that’s common with stronger sessions, but it should fade in a few days.
Use lighter pressure on the face and under the jaw. For the face, focus on lifting strokes moving from the chin to the ear, and from the nose out to the cheekbone. A jade or rose quartz gua sha fits facial curves; a larger buffalo horn or stainless-steel tool works better for the back and legs.
Safety & aftercare
Don't scrape over broken skin, sunburn, or acne. Avoid direct pressure on large veins, thyroid gland, or areas with deep bruising. If you take blood thinners, have a bleeding disorder, or are pregnant, check with your healthcare provider first. After a session, drink water and rest for a bit. Apply a cool compress if an area feels too warm. Red marks can last from a few hours to several days — that’s normal, but if pain persists or swelling appears, stop and seek advice.
Frequency depends on your goals. For tight muscles, 2–3 short sessions per week is a good starting point. For gentle facial Gua Sha, daily 1–2 minute sessions can improve circulation and product absorption. Keep sessions short; overworking the same spot can cause irritation.
Common mistakes to avoid: using too little oil, pressing straight down instead of angling the tool, and scrubbing back and forth aggressively. Those habits increase pain and bruising. Instead, use steady one-way strokes and adjust pressure based on comfort.
Professional Gua Sha sessions combine assessment, targeted strokes, and expertise to address specific issues like chronic neck tension. If you have persistent pain, book a session with a trained therapist who uses Gua Sha alongside other therapies.
Want a quick at-home routine? Cleanse, apply oil, work each tight area 5–10 strokes, finish with light massage, then hydrate. Small consistent steps beat occasional intense sessions every time.
Try tracking results with notes or photos to see if pain, range of motion, or skin texture improves over two to four weeks. Small changes add up, and consult a pro if you feel unsure anytime.

Master the Art of Gua Sha for a Radiant Skin
Hey beauties, in this post, I'll be taking you through the fascinating journey of Gua Sha, an ancient beauty technique that I've absolutely fallen in love with. This simple, yet powerful beauty protocol has totally uplifted my skincare routine, bringing its flawless touch. The goal here? To help you master the art of Gua Sha for radiant, glowing skin. Join me, as we delve into the secrets of this holistic skincare method. You're sure to pick up a few beauty gems here.
Categories
- Health and Wellness (149)
- Alternative Therapies (97)
- Massage Therapy (40)
- Travel and Culture (15)
- Beauty and Skincare (9)
- Holistic Health (8)
- Health and Fitness (6)
- Spirituality (5)
- Other (2)
- Personal Development (2)
Popular Articles


